Custom Shirts are avatar items that you can put your own designs on and wear throughout Rec Room. This feature is available for RR+ members only and uses markers/erasers to draw on shirts, similar to using a Canvas or Whiteboard. Of course, you can sell your shirts to other users for tokens.
HOW TO USE CUSTOM SHIRTS
Clothing Customizer
The Clothing Customizer is the tool to create your Custom Shirt. You'll find it in the Backpack in the watch menu.
1. Front view of the shirt
2. Back view of the shirt
3. Preview of the shirt
4. Select the color of the shirt
5. Clear all markings on the shirt
6. Save the shirt so that you can leave and come back to continue working on it
7. Publishes your shirt for you to wear (and eventually for others to purchase)
Creating/Publishing a Custom Shirt
To create your shirt, all you have to do is select your shirt color, grab the markers/erasers, and draw your design.
You can rotate your avatar preview by clicking and dragging it.
If you need to step away or take a break before finishing your shirt, you can press the Save button. The next time you spawn in the Clothing Customizer, your saved design will be loaded.
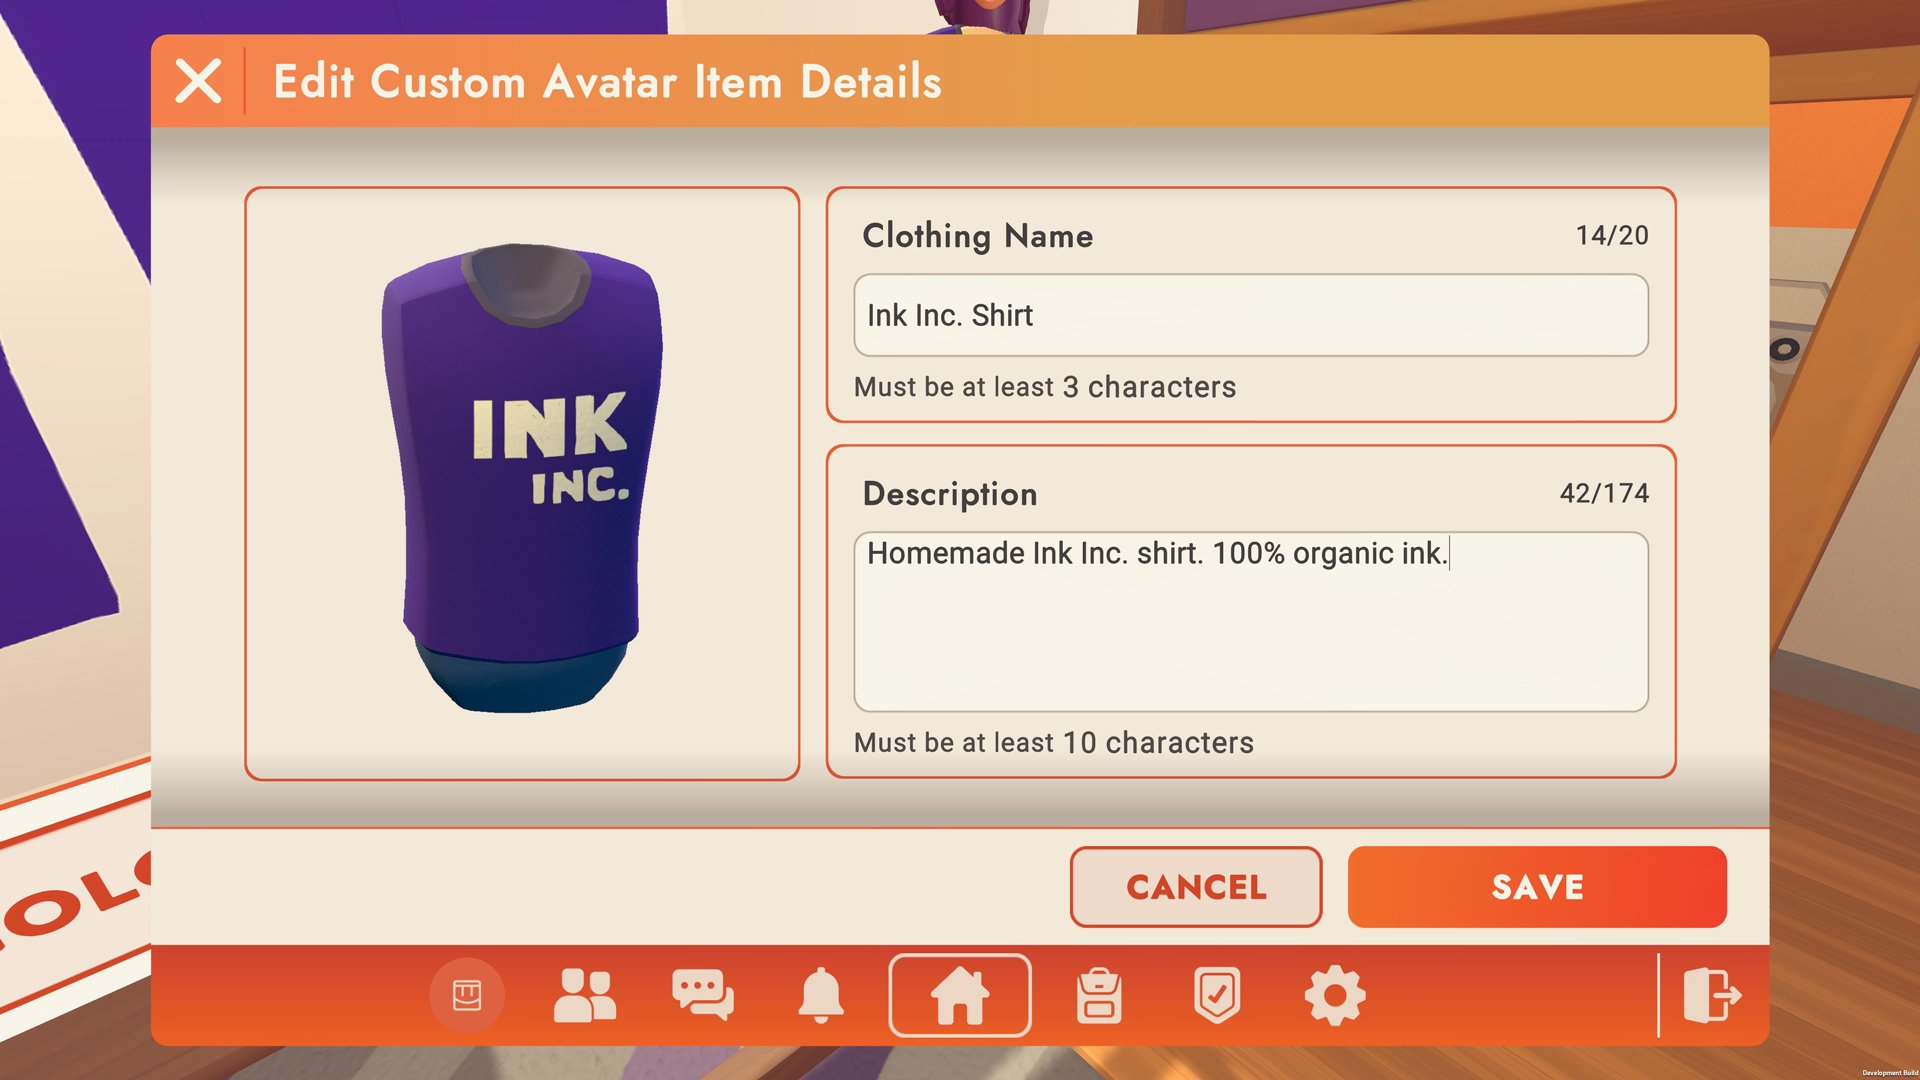
When you're finished with your design, press the Publish button. Here you can give your shirt a name, description, and price.
Wearing a Custom Shirt
You can find shirts that you've published in the Avatar Customizer on the mirror. Press the Customize button, then the Shirt icon, and select the Custom tab. Here are all of the shirts you've published and where shirts you've purchased will be.
EXAMPLE SHIRTS
Shirts by @Plague_Playz, @SoulFoxGaming, @SATCONCook, @KasiCatGirl, @EyesDraws
TIPS
Use the Maker Pen to spawn in more markers, and re-color them to get a wider variety of colors
Use the Apple Pencil on an iPad for greater control
Use circuits/gadgets to create perfect shapes
GET CONNECTED
Stay informed! Find more info on Community Commerce events and programs by joining the Creator Hub Discord. Find more info under the Community Commerce channels section.


